Loom Friendship Bracelet
Home » Loom Friendship Bracelet
Getting Started
On this page is a step by step guide to create your own loom friendship bracelet. Make sure you have:
- 7 different colour pieces of thread approximately 15 inch long
- A loom bracelet wheel
- Don’t have a wheel, download the template and create your own out of cardboard
Step 1
Take your 7 pieces of thread and tie a knot in one end.

Step 2
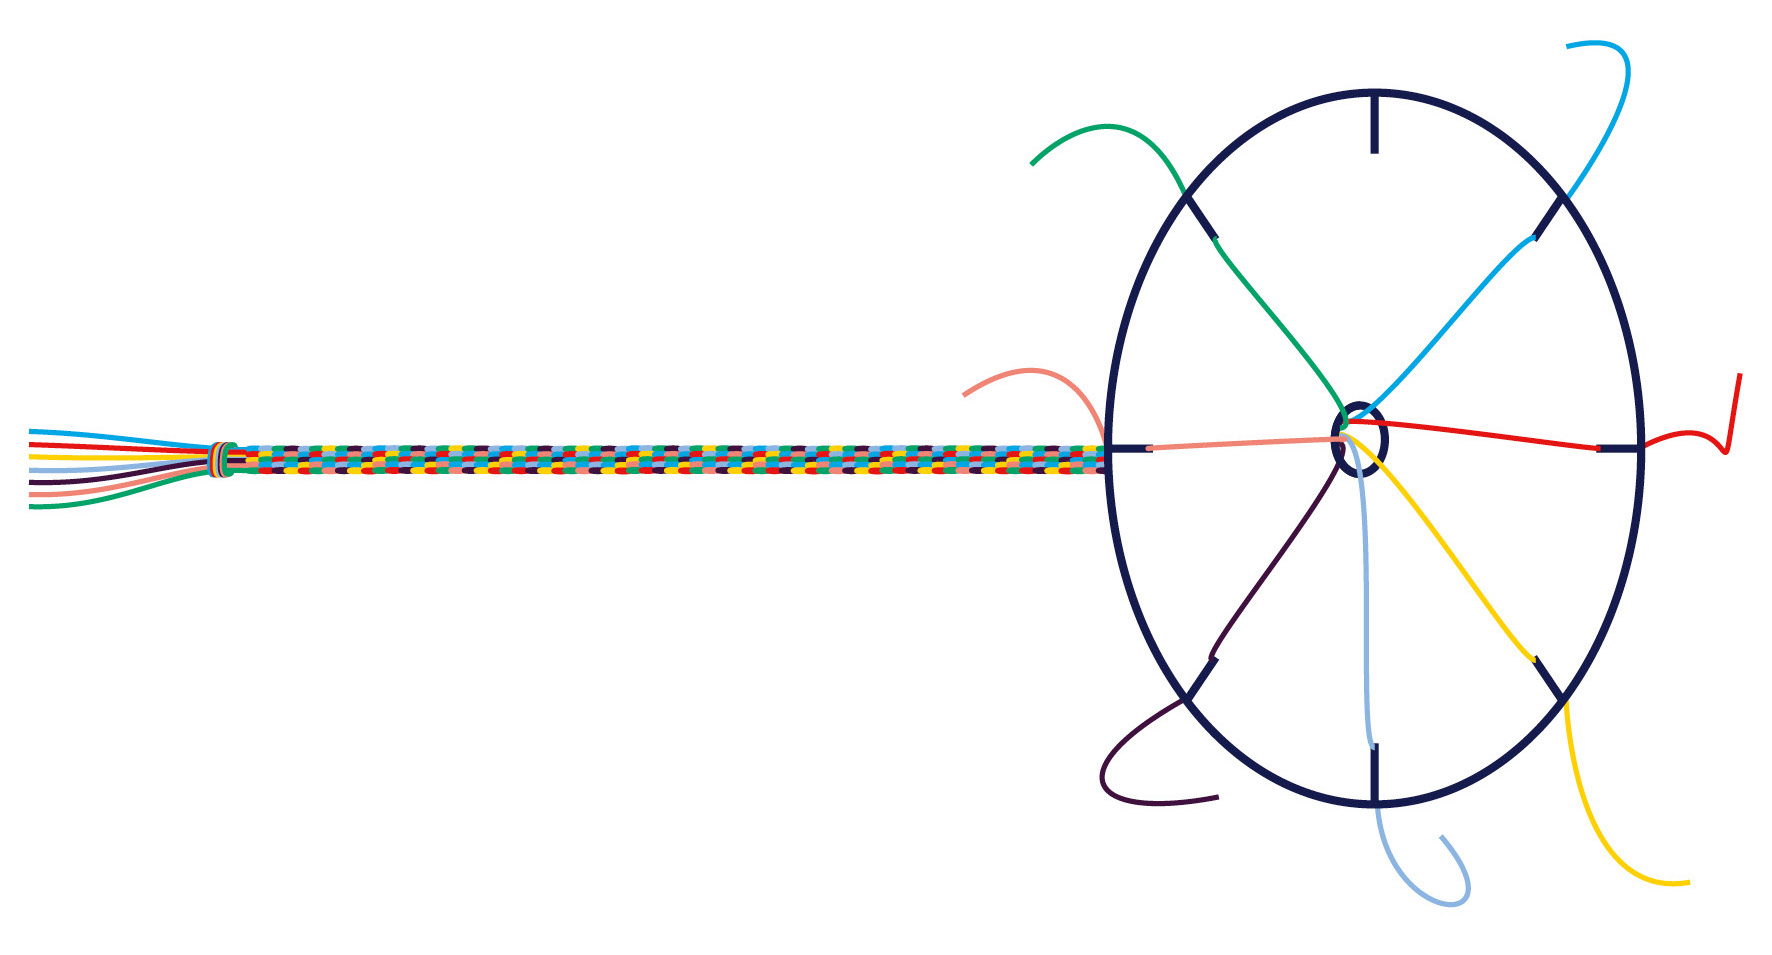
Feed the thread through the centre of your wheel.

Step 3
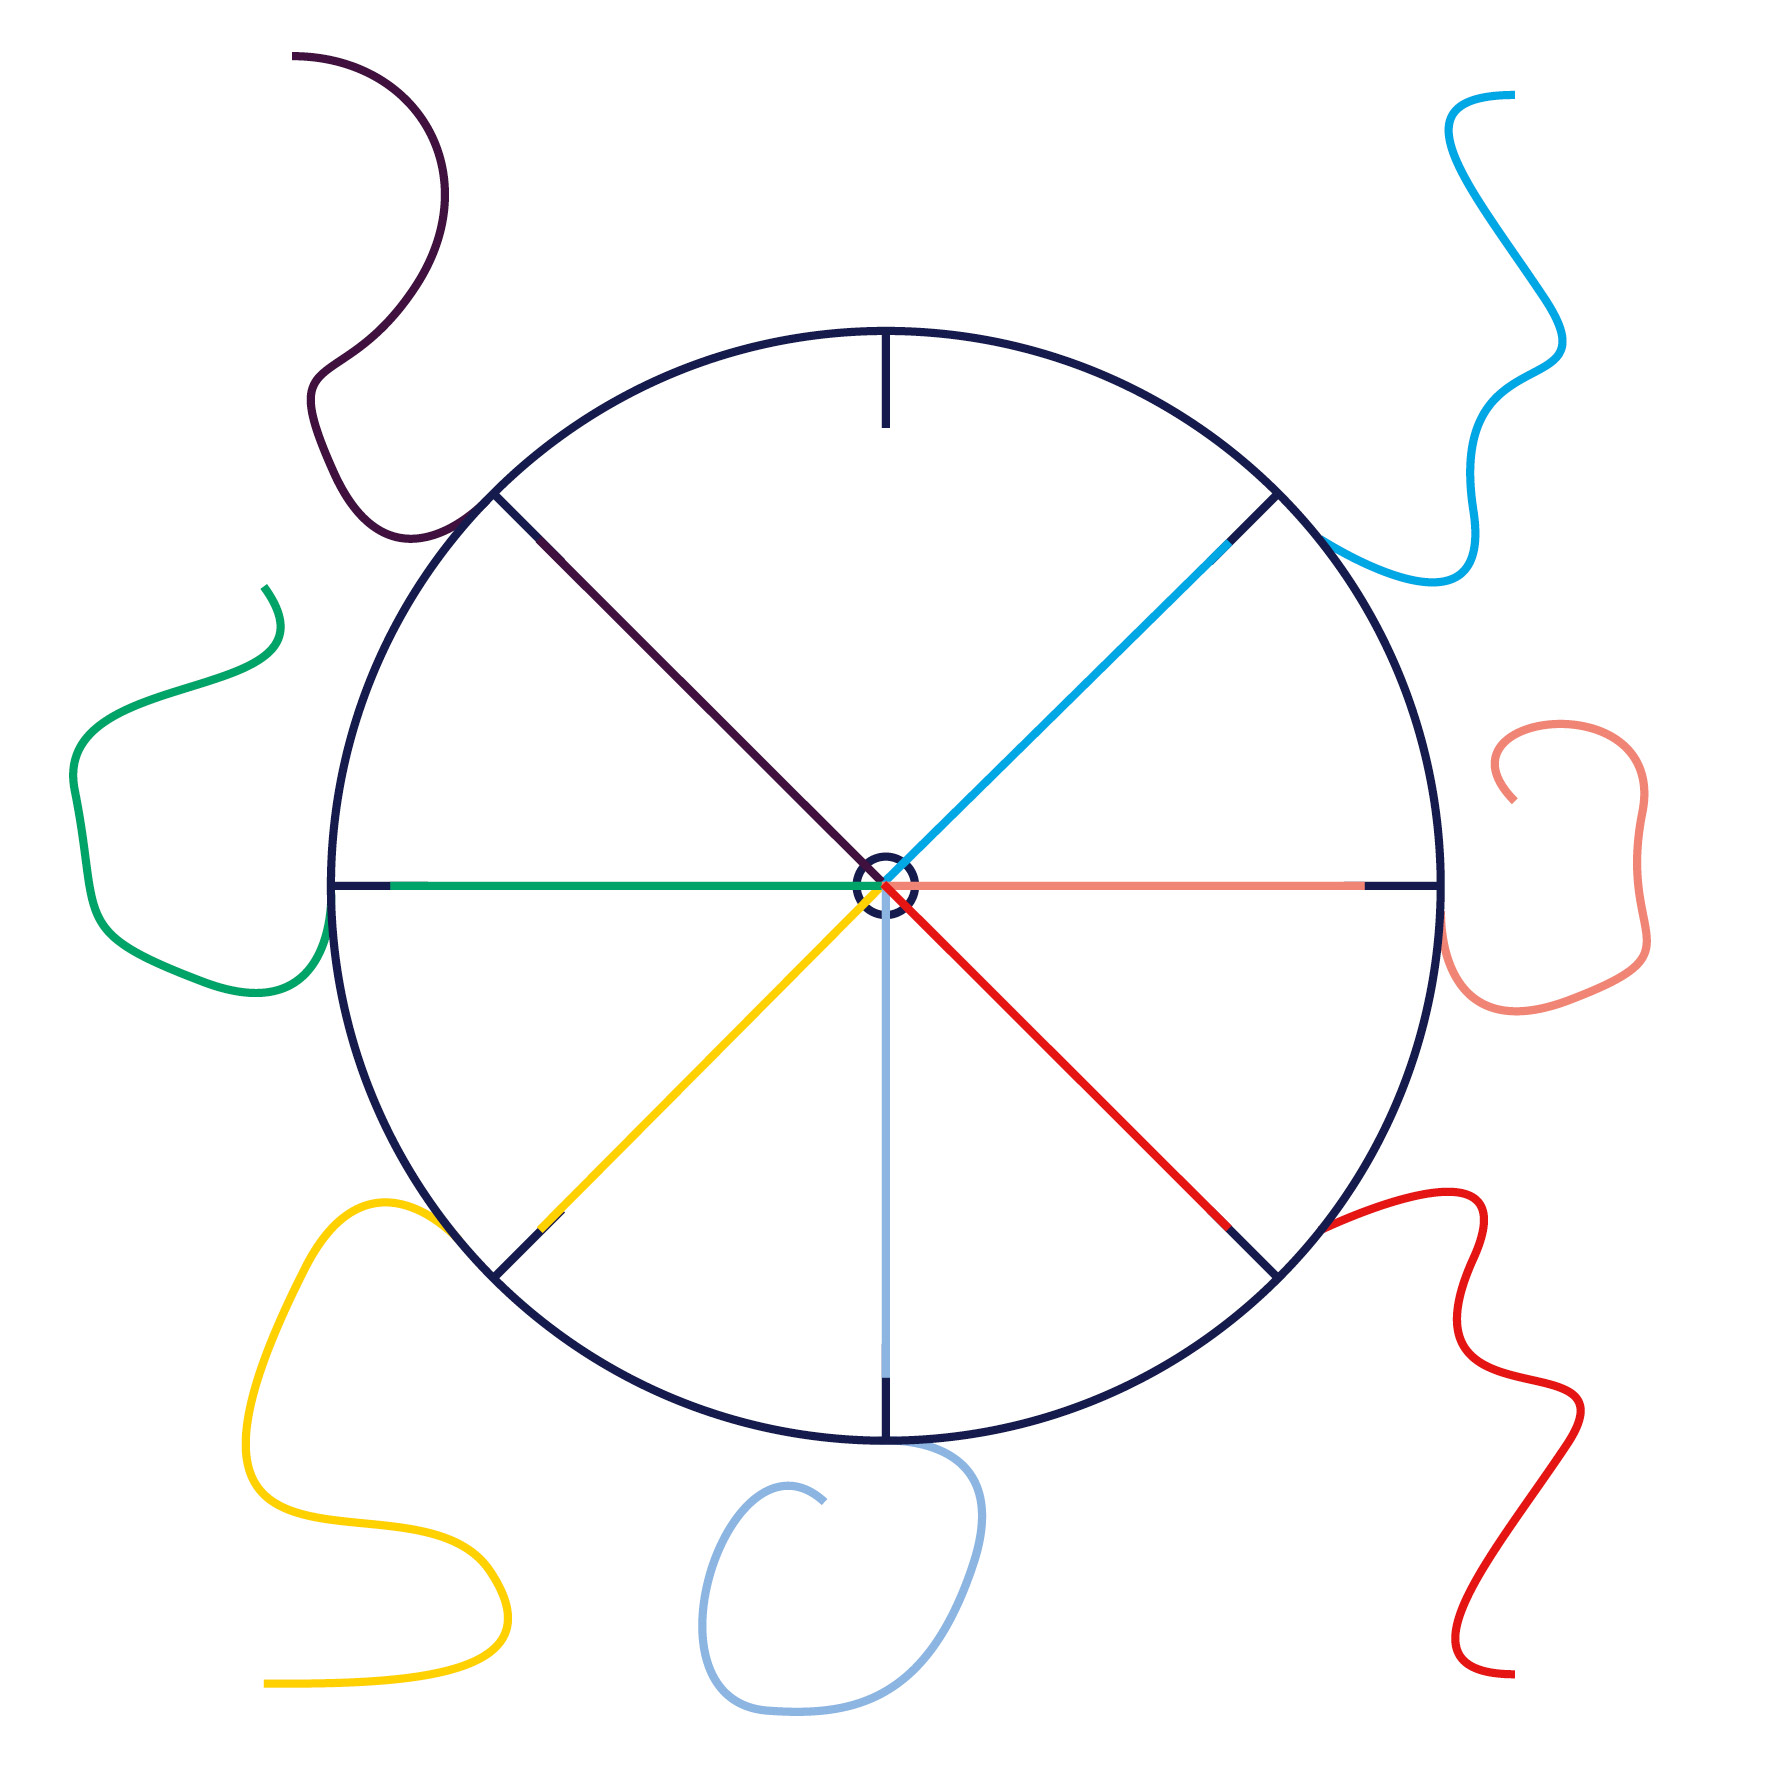
Holding the wheel with the knot facing down, place one thread in each of the slots.
There will be one empty space at all times while you are braiding.
Step 4
With the empty slot at the top count to your right and grab the third thread. Take it out and place it into the empty slot.
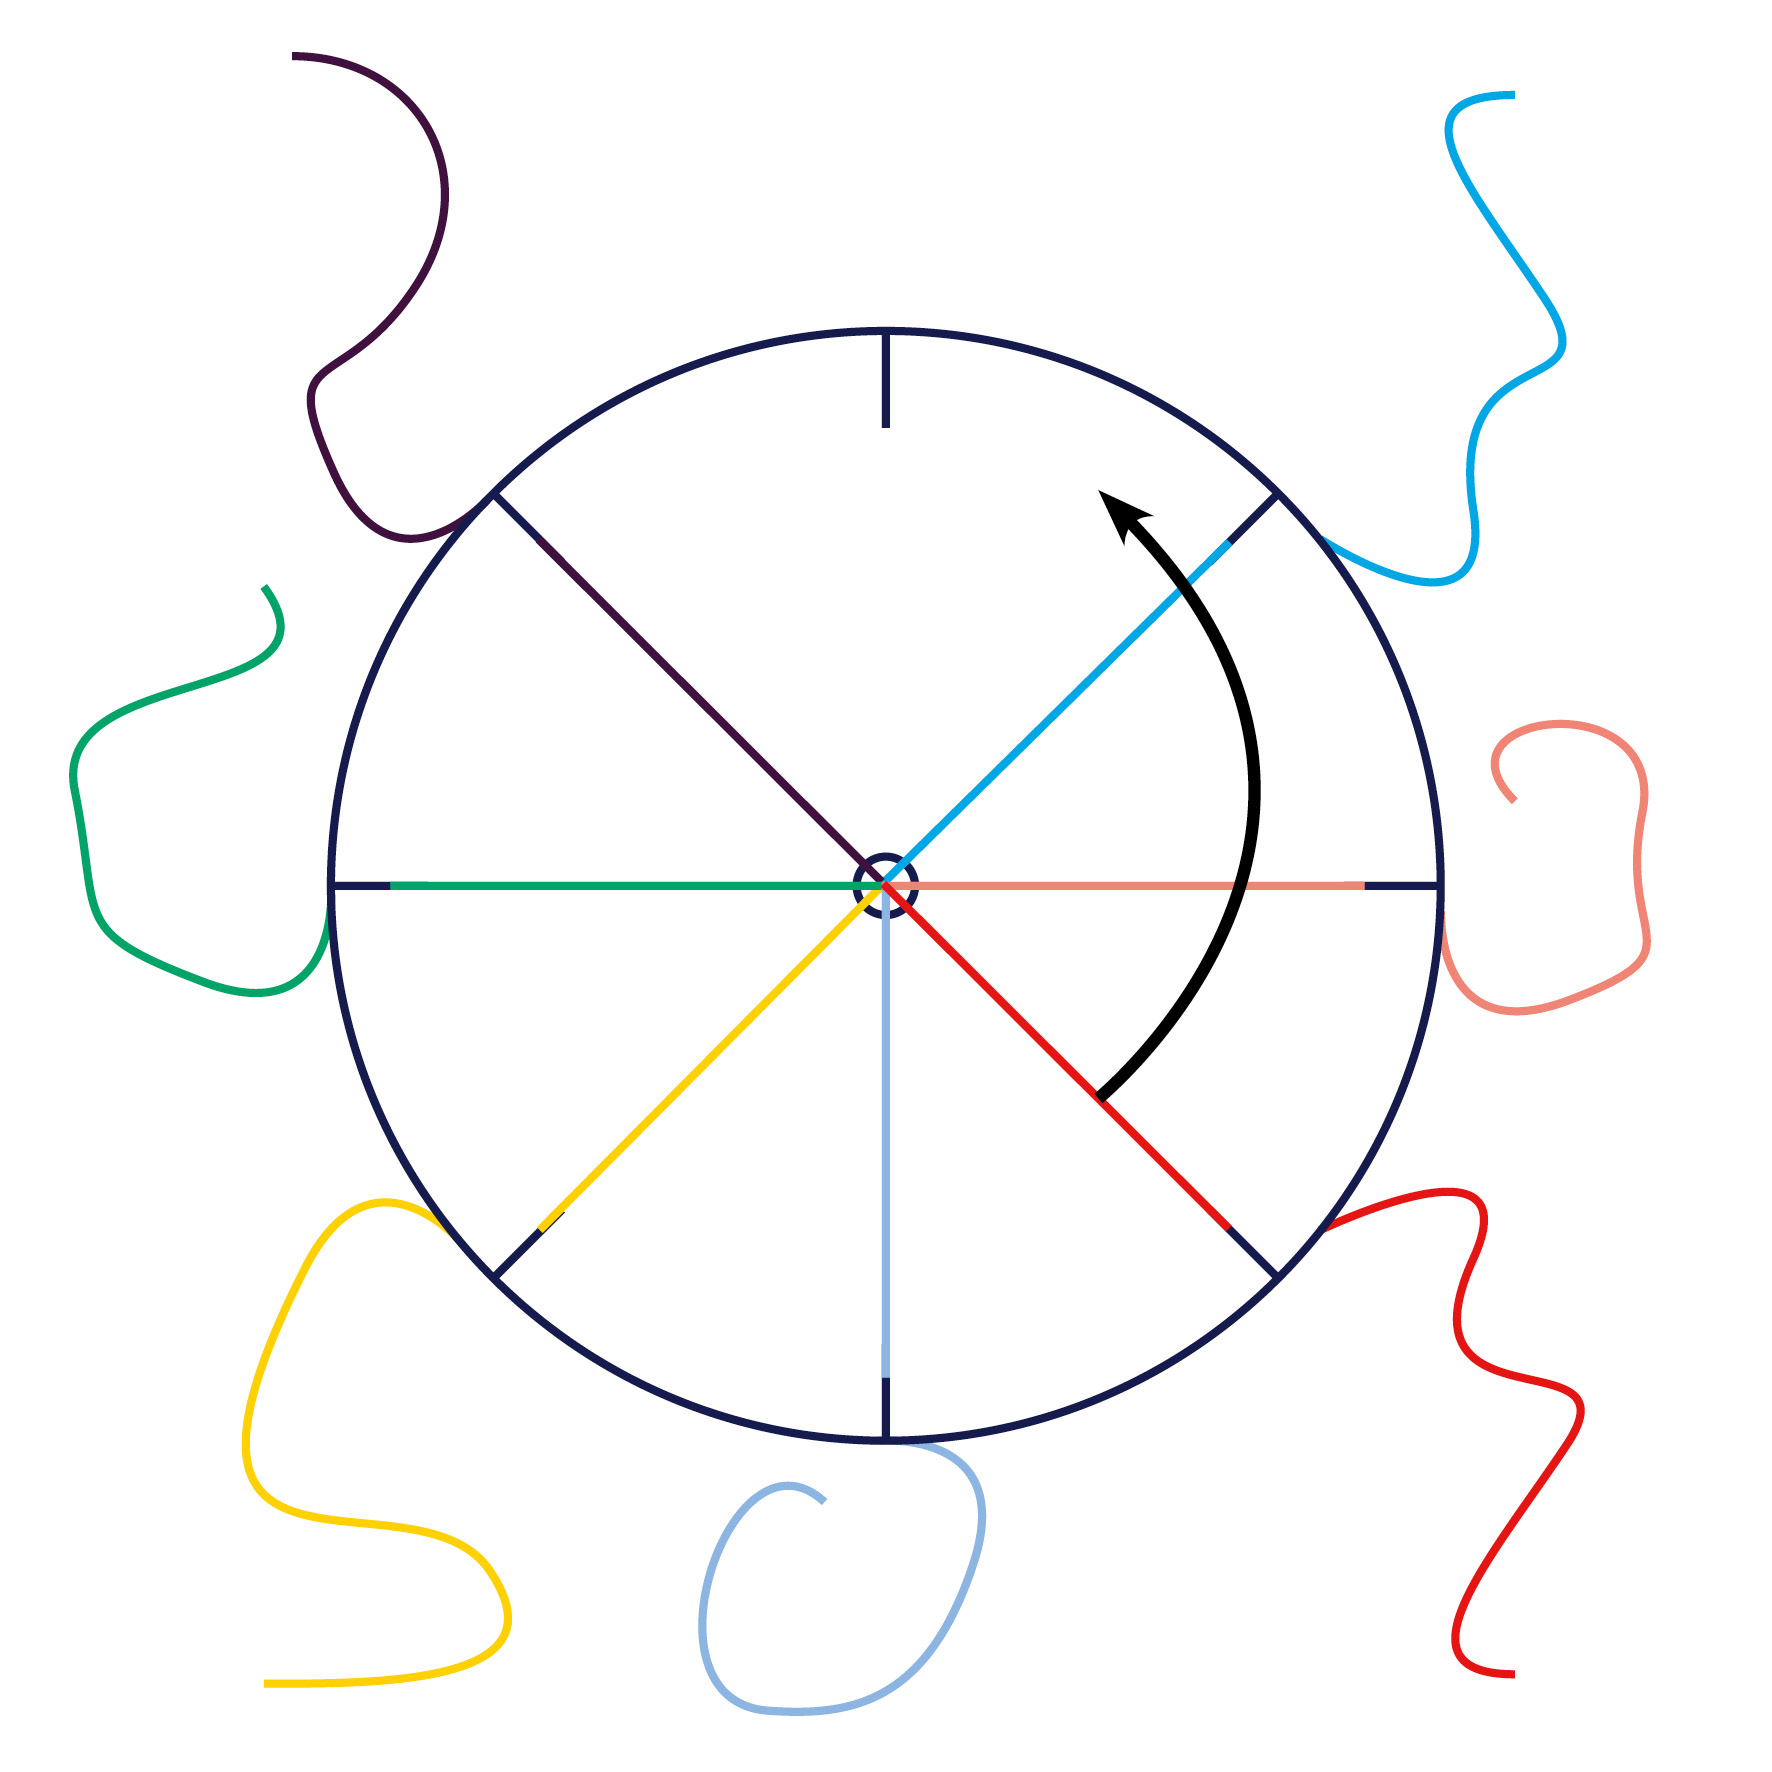

Step 5
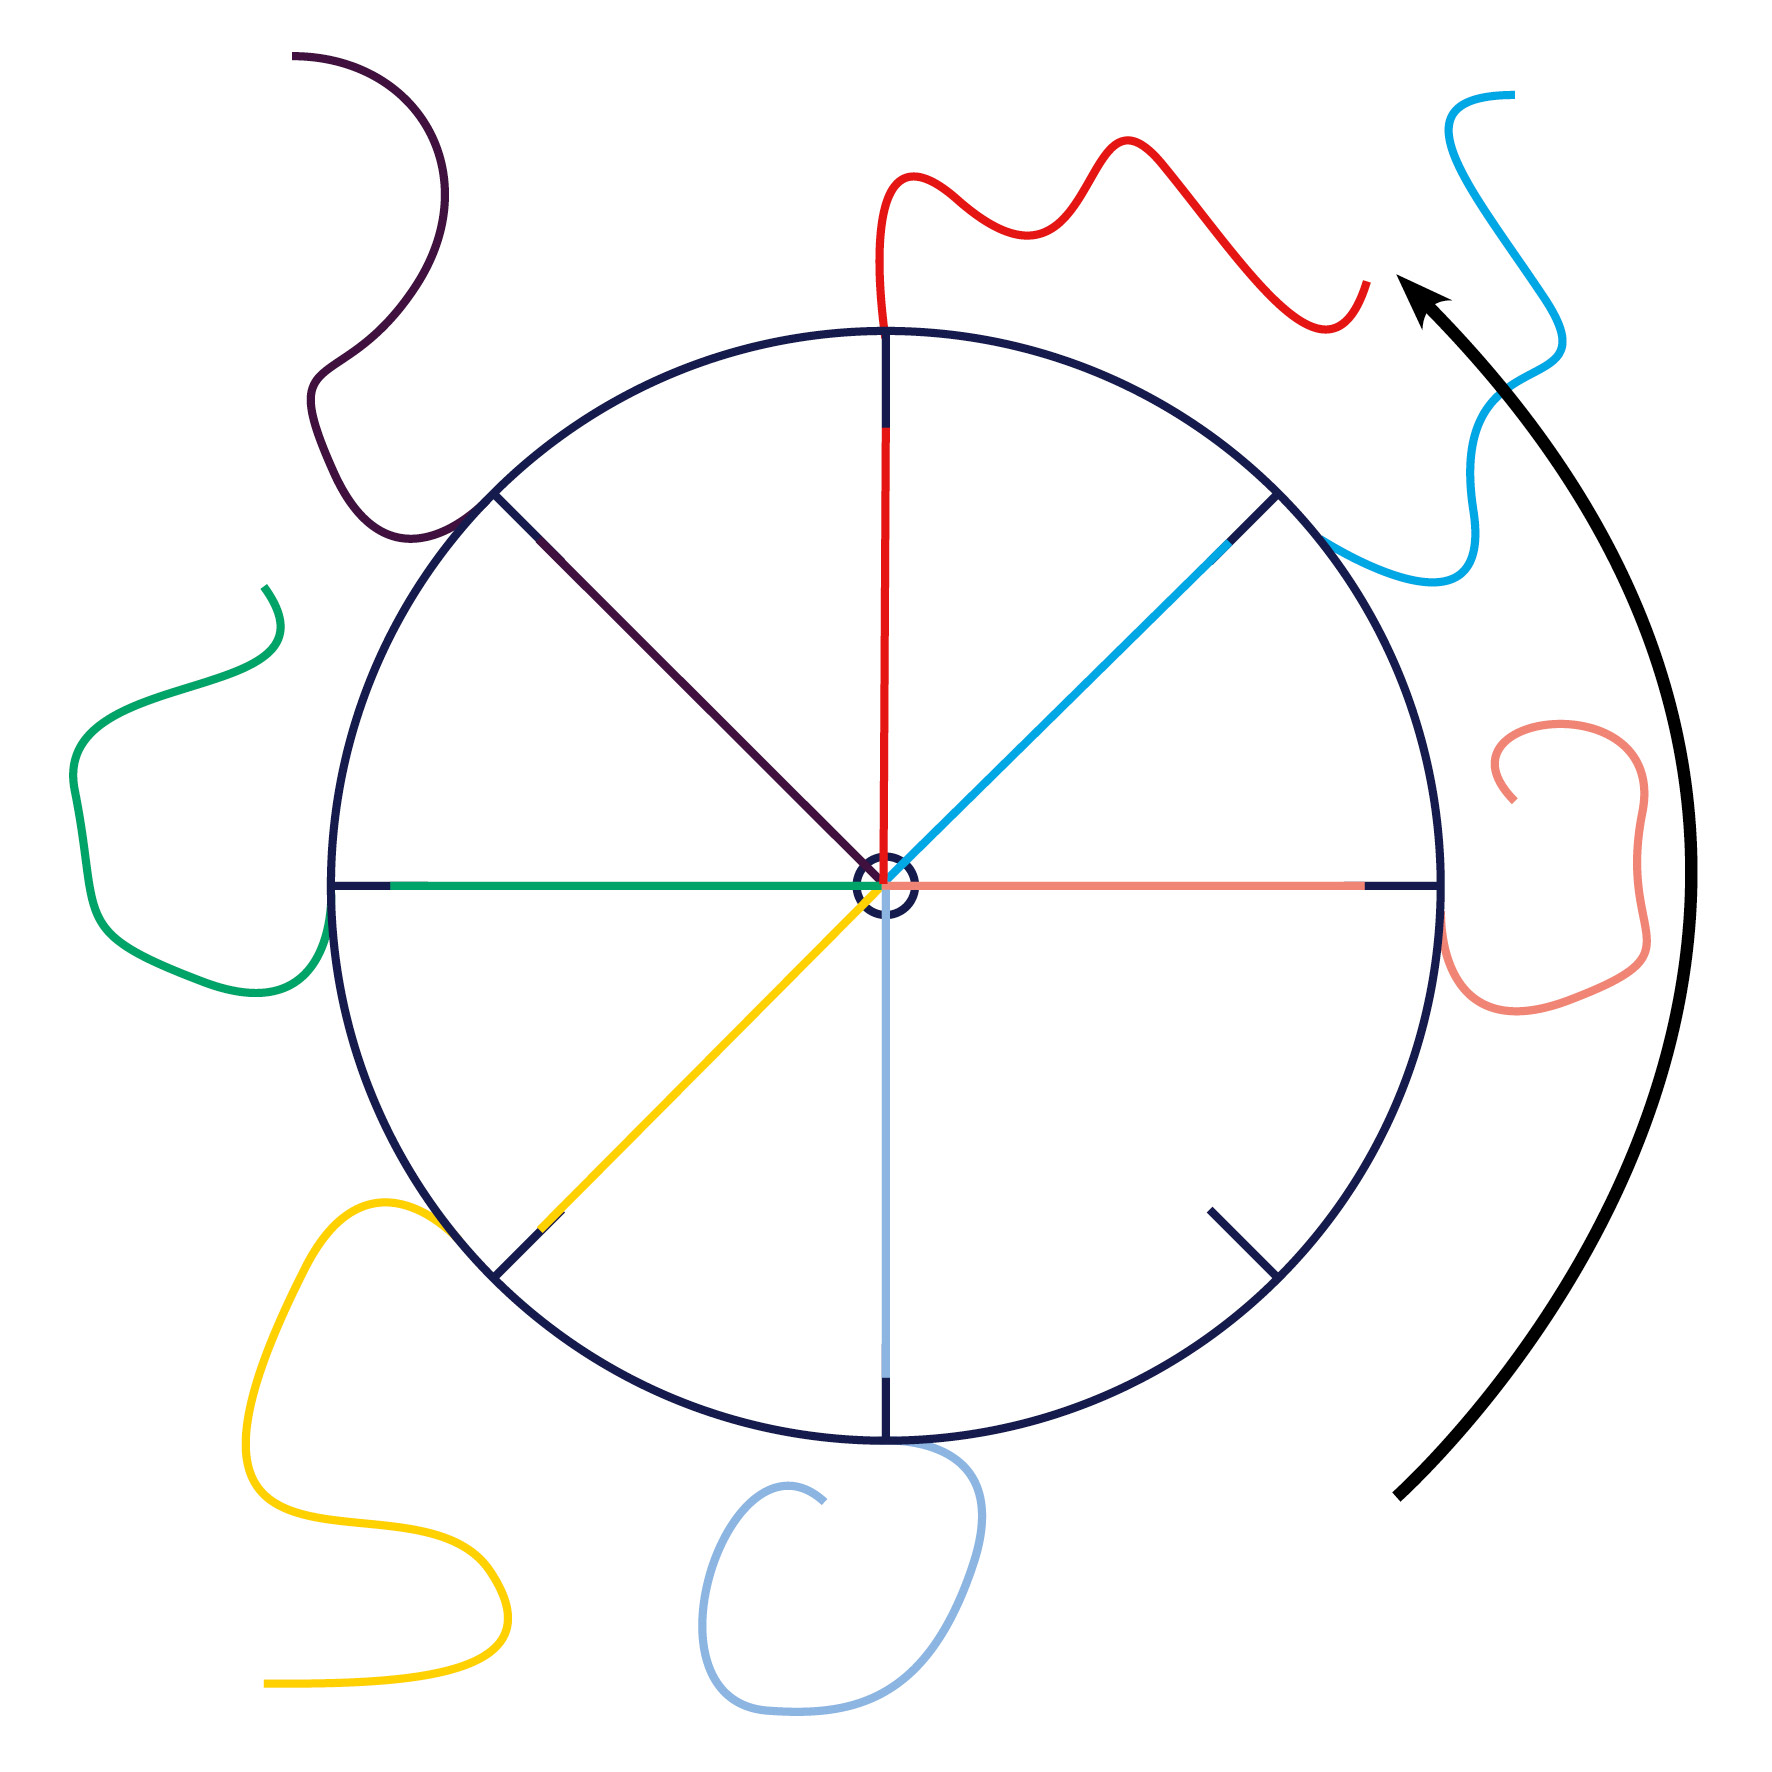
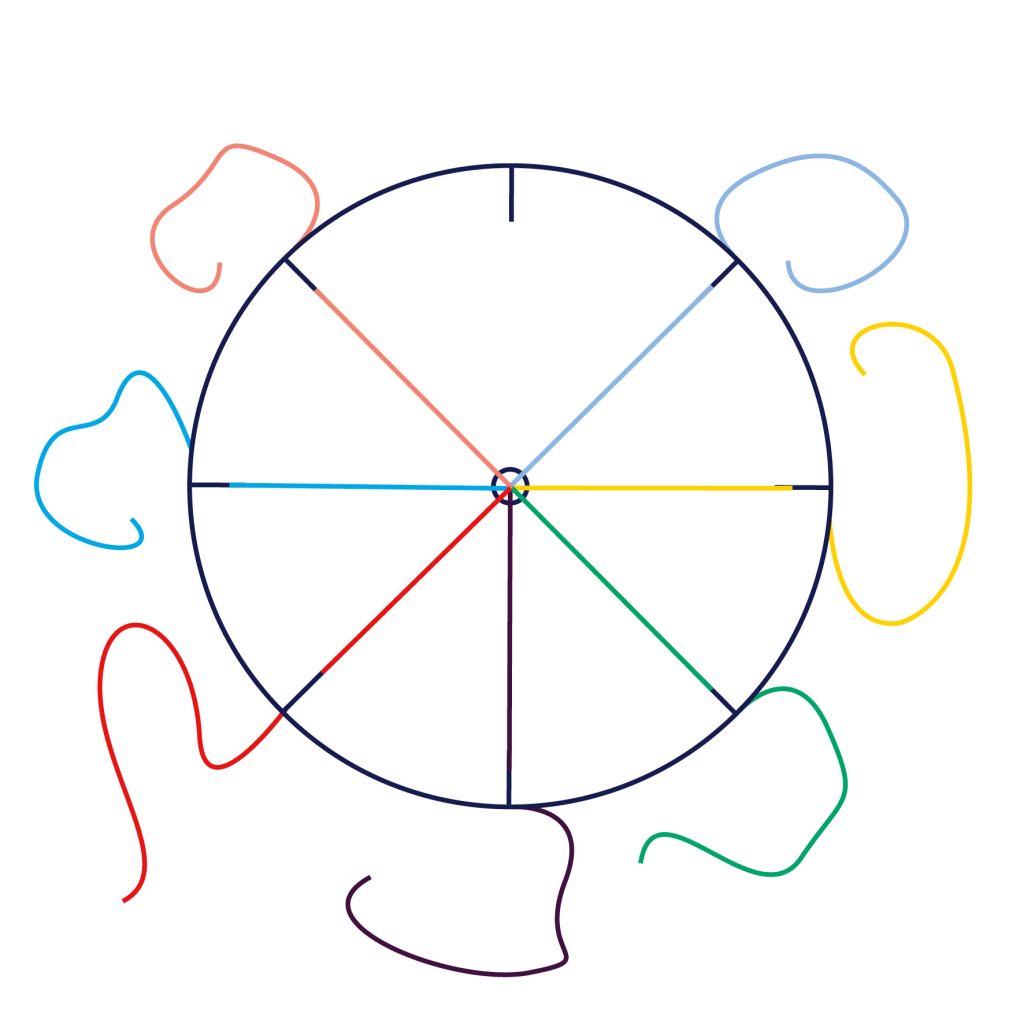
Rotate the wheel to move the newly empty slot to top.
Step 6
Repeat stages 4 & 5 until your bracelet is at the required length.
Step 7
Remove the wheel, separate the end threads into a group of 3 and 4. Tie a knot with group of 4.

Step 8
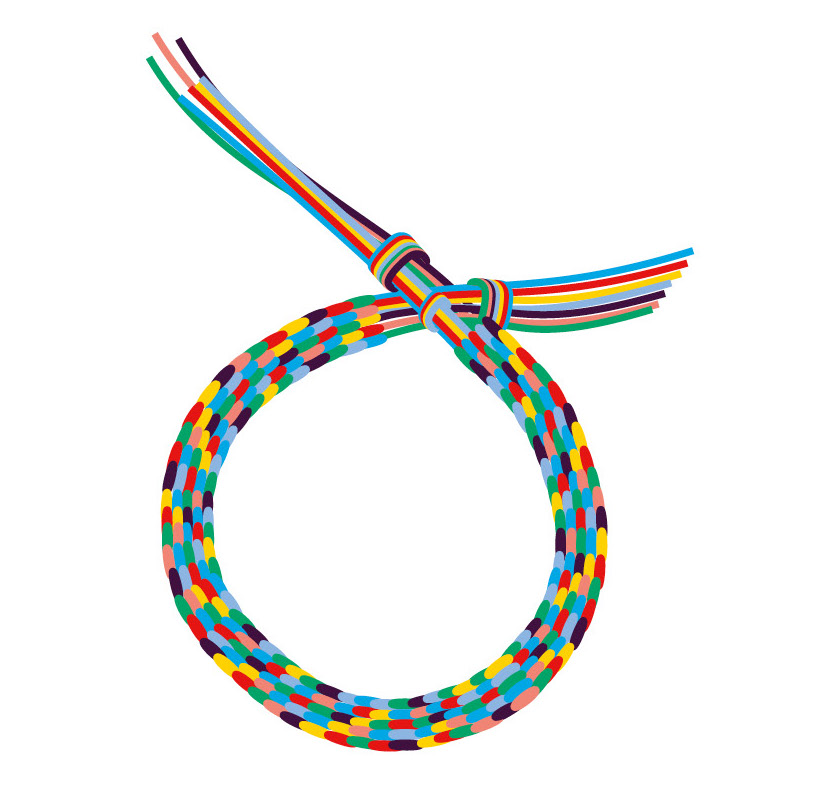
Wrap the ends around the beginning knot and tie all 7 threads together.
Trim the ends to create a tidy finish to your bracelet.

Have you done this activity with your unit?
Share your photos and experience and be featured on our county’s Facebook page.
